Custom Donation Box
Prices incl. VAT plus shipping costs
Despatch time approx. 8 working days, after the Christmas break, from 06.01.2025
Please Configure Your Product
Inside Dimensions
Back-panel: transparent, reflective, black or satinedBack-panel
Top-lid
in millimetresCoin-slot
Cut-outs in the back-panel for wall fixings.Wall-mounting
- Order number: G20300
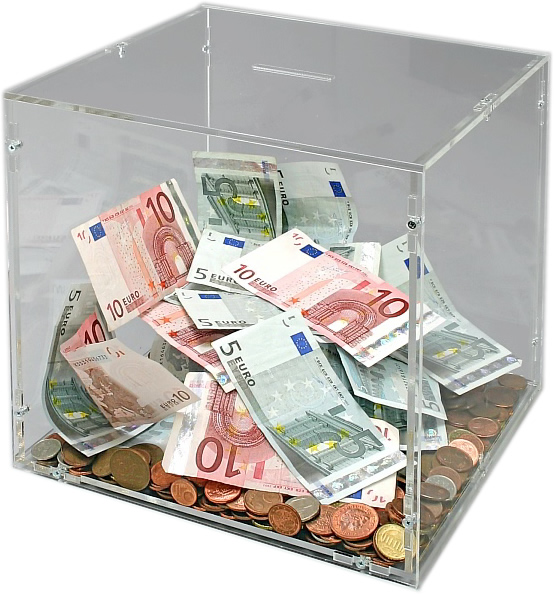
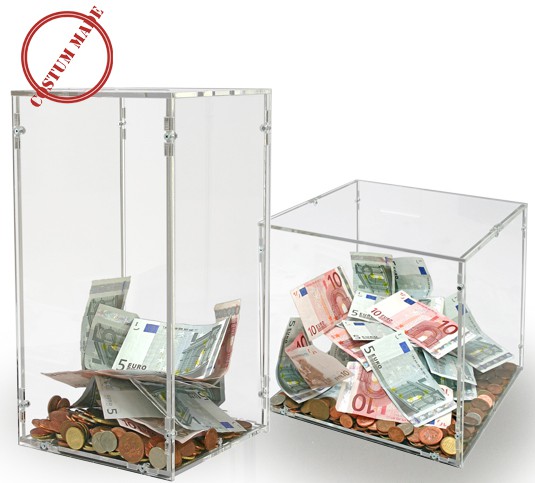
Does your organisation use a donation box to raise funds from visitors and passersby? We can design a Custom Donation Box for you that fits all your requirements, with prices beginning at €22 and varying according to the size and features you are looking for.
Best of all, there’s no need to wait to find out how much your donation box will cost! By using our customisation tool, you can calculate the exact price and, if you’re satisfied, add it straight to your shopping cart so that we can begin making it for you as soon as possible.
SOME HINTS:
- When you are using the customisation tool, please remember that all measurements are in centimetres.
- Due to the nature of acrylic panels, some combinations of dimensions (eg, a case which is 75cm tall and 75cm wide) are not possible. Making cases with these combinations would be very likely to result in breakages, which of course we work hard to avoid. Other combinations are possible, but may result in a different shipping option being used (our standard shipping option can only handle packages of certain sizes). If you select a combination of dimensions that could cause problems, an error message will appear. You may then adjust your chosen dimensions so that you can go ahead and order right away.
- If you have any questions or problems, please feel free to write us an e-mail on info@sorashowcases.com and one of our friendly staff members will be able to help you out.
Step One:Decide how many donation boxes you would like made, and select that number from the drop-down box.
Step Two: Decide how wide you want your donation boxes to be, and select the appropriate number from the drop down called ‘Width (Inside)’. Then, select how tall you want your donation boxes to be, and select the appropriate number from the drop down called ‘Height (Inside)’.
Step Three: Decide how deep you want your donation boxes to be, and select the appropriate number from the drop down called ‘Depth (Inside)’.
Step Four: Choose the type of back panel you would like for your donation: transparent, reflective or black. You may like to look at the sample pictures provided on this website to get an idea of what the different back panel options look like.
Step Five: Decide what type of top you would like for your donation boxes – lockable or unhitched – and select this option from the drop down list.
Step Six:Decide what dimensions you would like the coin slot at the top of each donation box to have. The standard option is 70mm x 5mm, but if this does not suit your needs you can alter these figures using the drop down lists.
Step Seven: Click on ‘Calculate Now&requo; to produce a list of the specifications for your custom donation boxes. If there is a problem with something you have entered, an error message will appear, explaining what you need to do to fix it. If everything is fine, you will see a summary which includes the details of your donation boxes, the number you would like the order, the price per unit, and the total price.
Step Eight: If you are ready to order, go ahead and click on ‘Add to Shopping Cart’, then click on ‘My Shopping Cart’ to review postage costs and check out. Alternatively, you are welcome to adjust settings as many times as you like until you find the donation box that perfectly suits your needs.
Step Nine: We will build your donation boxes and ship them to you in approximately five working days. They will arrive as easy-to-assemble kits (with illustrated instructions included) and require no tools or adhesives to put together.
And remember: If you have any difficulties in the course of ordering a custom case, just email us on info@sorashowcases.com We’re always happy to help!
TECHNICAL DETAILS
The acrylic donation boxes are based on a connector system. They are delivered as an easy to build up construction kit with an illustrated construction manual. You can get an idea of how it looks like when you browse the Construction Manual.
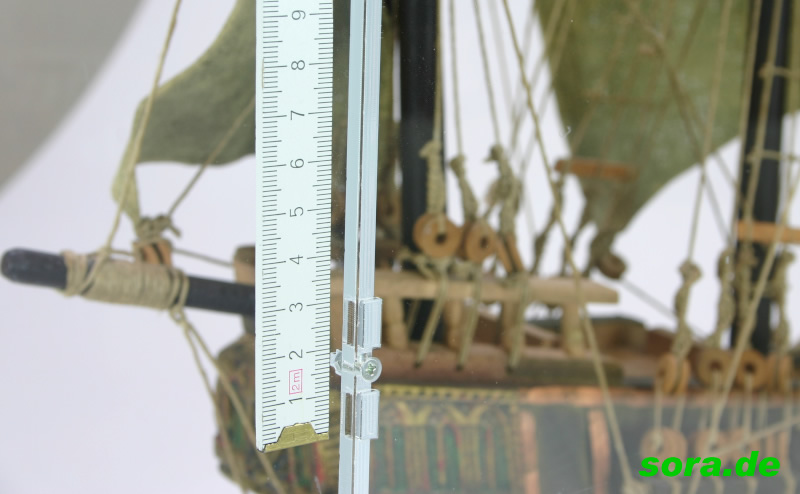
The acrylic parts of the construction-kit are joined with small countersunk screws (M2.5) and nuts, both with a white zinc surface. The box itself is made of crystal clear 4mm thick acrylic sheets. You can choose between a transparent, a black or a reflective back-panel for your individual case. Black or reflective back-panels are 3mm thick.
TWO DIFFERENT TOP COVER/LID VERSIONS
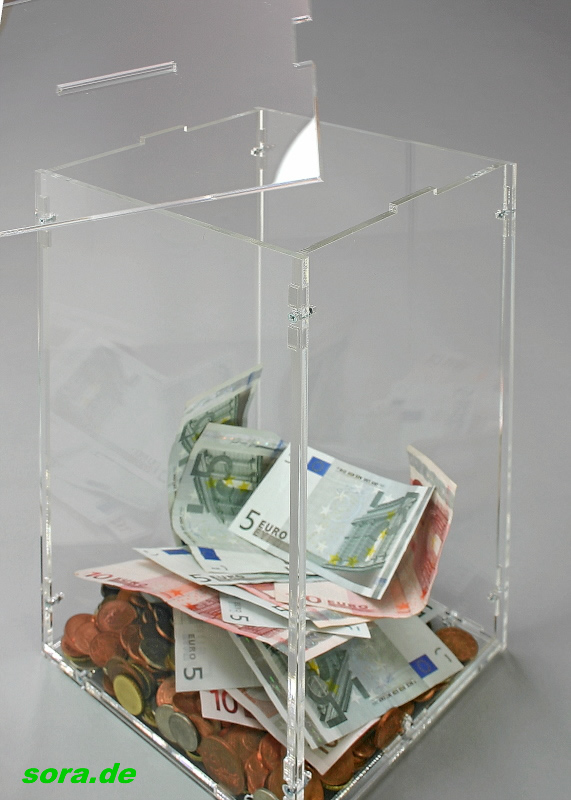
On this picture you can see the product version with the screw-lockable cover. The top is connected to the left and right side of the box using a small M2,5 countersunk screws.
Here you can see the product version with unhinched top. The cover simply slots on the sides. It is easy to open by just lifting the top off the box. Because of the small grooves in the top, in can not slide off accidentally.
INSIDE AND OUTSIDE DIMENSIONS
The outside measurements of the case differ from the inside dimensions in the following ways:
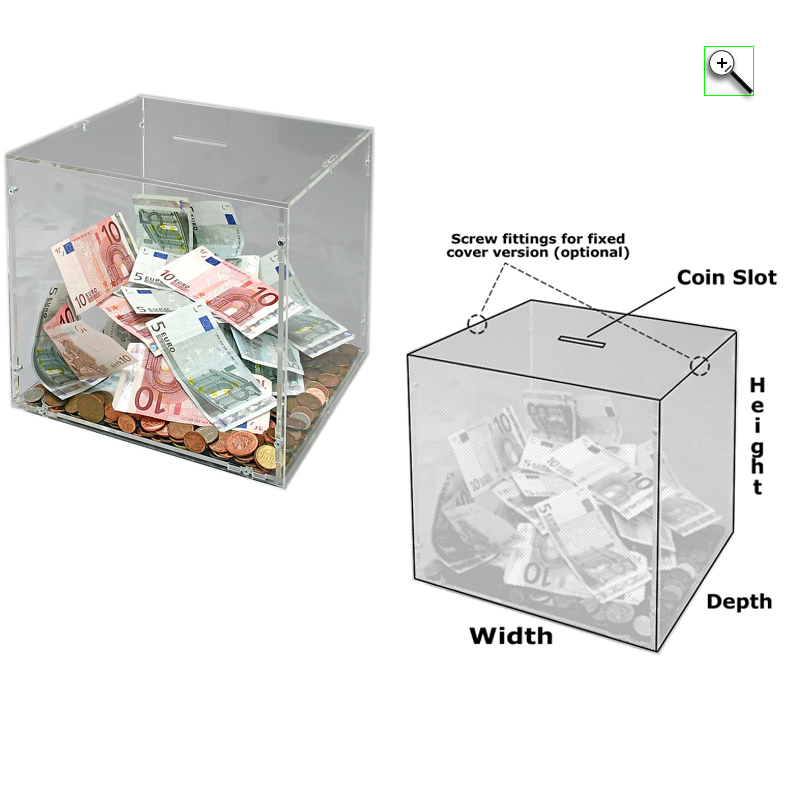
Outside width = inside width + 14 mm
Outside depth = inside depth + 8 mm
Outside height = inside height + 11mm
COIN SLOT
We can design coin-slot in the top exactly to your specifications. Please note the the input unit is millimetres (mm). A common size for a classic coin-slot would be e.g. 70*5 mm.
If you want an acrylic box without a coin slot, please set bot width and depth of the coin-slot to 0mm.

